Free delivery with orders over £60 (UK only) Free delivery with orders over £60 (UK only)

A weekly little written something by Julia

Drawing inspiration

Drawing inspiration

With a certain festive 'c' word around the corner (!) I am sure that for some this is the last thing that you want to think of. The leaves are barely off the trees and yet I have been spending all my spare hours photographing/editing/tweaking/uploading all of our new Christmas collection. But worse than that Christmas for me started in the hottest July we have had on record for decades! It is a lot of work (and money) to get new products out there and the Christmas illustrations I used previously have not been changed for a while, so I decided to go for it this year. New products and new drawings to adorn them.

I set about making a list of Christmas elements, everything from sprouts to polar bears. The next stage is basic sketches. And I mean basic. These sketches are to thrash out possible styles for each drawing and no colour is even considered. 

Next comes a bit of biro. I sketch using a mechanic pencil, this keeps the drawings looking clean and they are easy to correct. Then a little watercolour. This is so much more subtle than just adding layers of colour in any computer programme. Which leads me to the stage where it does finally get involved. This is an example of a drawing once it has simply been scanned into the computer.


Now for cleaning the image up. Sometimes it is a case of tweaking colours but more often than not all I am doing is 'cutting out' the image so that I remove the background and taking away any blemishes or smudges that the paint and pen have left. Once the image is clear of the background it ends up looking crisp and is ready to be formatted for product. This is the reindeer once it has been cleaned up, as you can see I have done very little work on him - just how I like it!


Finally on to the product formatting. Each element is carefully sized and formatted so that it fits the item correctly. This is an example of the bauble and how we have to set the image out ready for the decorators. It is really important to me that I alone format the transfers as the size of image and the order is difficult to communicate to another designer. It also gives me self satisfaction when the samples come back and they are just right in terms of fit and proportion. Here is the finished bauble transfer followed by the image of the finished item.


Well, I hope that that gives you a little insight into the drawing process for us. I have lots of making to do this week in preparation for the Country Living Fair next week and the ladies in Stoke on Trent are hard at work making up some more decorations. If you would like to order any Christmas baubles and plates we promise that they will be with you by the 30th November. Ready to adorn all those beautiful trees out there! We have been overwhelmed by your response to our Christmas collection so far (thus the small wait for your special decorations) and I am so very grateful for all the support you have given us. Thank you. Continue reading

Bringing Colour Indoors During Autumn

Bringing Colour Indoors During Autumn

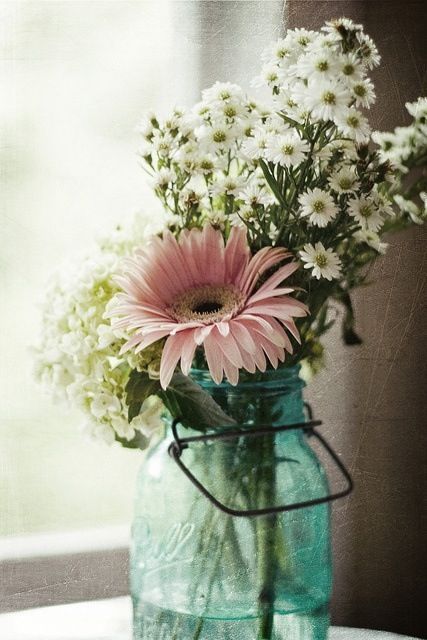
It is fast becoming cooler, and with that the leaves are turning and the days shortening. Rather than feeling sad about the lack of warmth and greenery I try to enjoy the change of colours and look forward to cosying up indoors. And you needn't be without colour in your garden at this time of year. I am looking this week at some cut flowers that are great in your garden now but can then be brought indoors to perk up a coffee table or kitchen counter. Here are a few examples below for you that I have found on the incredibly informative (as always) RHS website.

Perovskia atriplicifolia

  • Other common names Russian sage
  • Genus Perovskia are deciduous subshrubs with aromatic, deeply divided, grey-green leaves and large, open panicles of small tubular blue flowers from late summer
  • Details P. atriplicifolia is a bushy, woody-based deciduous perennial to 1.2m tall, with upright white stems bearing finely divided grey-green leaves to 5cm long, and long terminal panicles of tiny blue flowers in late summer and early autumn

Thalictrum delavayi 'Hewitt's Double'

  • Other common names Chinese meadow rue 'Hewitt's Double'
  • Synonyms Thalictrum dipterocarpum 'Hewitt's Double' misapplied
  • Genus Thalictrum can be rhizomatous or tuberous perennials with ternately or pinnately divided, often attractive foliage, and panicles or racemes of small flowers with showy stamens and sometimes large colourful petal-like sepals
  • Details 'Hewitt's Double' is an erect herbaceous perennial to 1.5m in height, with attractively divided leaves and tall panicles of long-lasting, rosette-like, double lilac-purple flowers

Aster thomsonii

  • Genus Aster can be perennials, annuals or subshrubs, mostly with narrow leaves, and solitary or clustered, daisy-like flowers
  • Details A. thomsonii is a clump-forming perennial, to 1m tall, with oval, toothed leaves, up to 10cm long, on hairy stems. Flowerheads, up to 5cm across, comprising lavender-blue rays and a central yellow disk, are held on slender branches from late summer into autumn

Further reading about how to plant your garden with a view to cut flowers can be found here. It has really inspired us here at Sunday Cottage to re-think some of the borders.

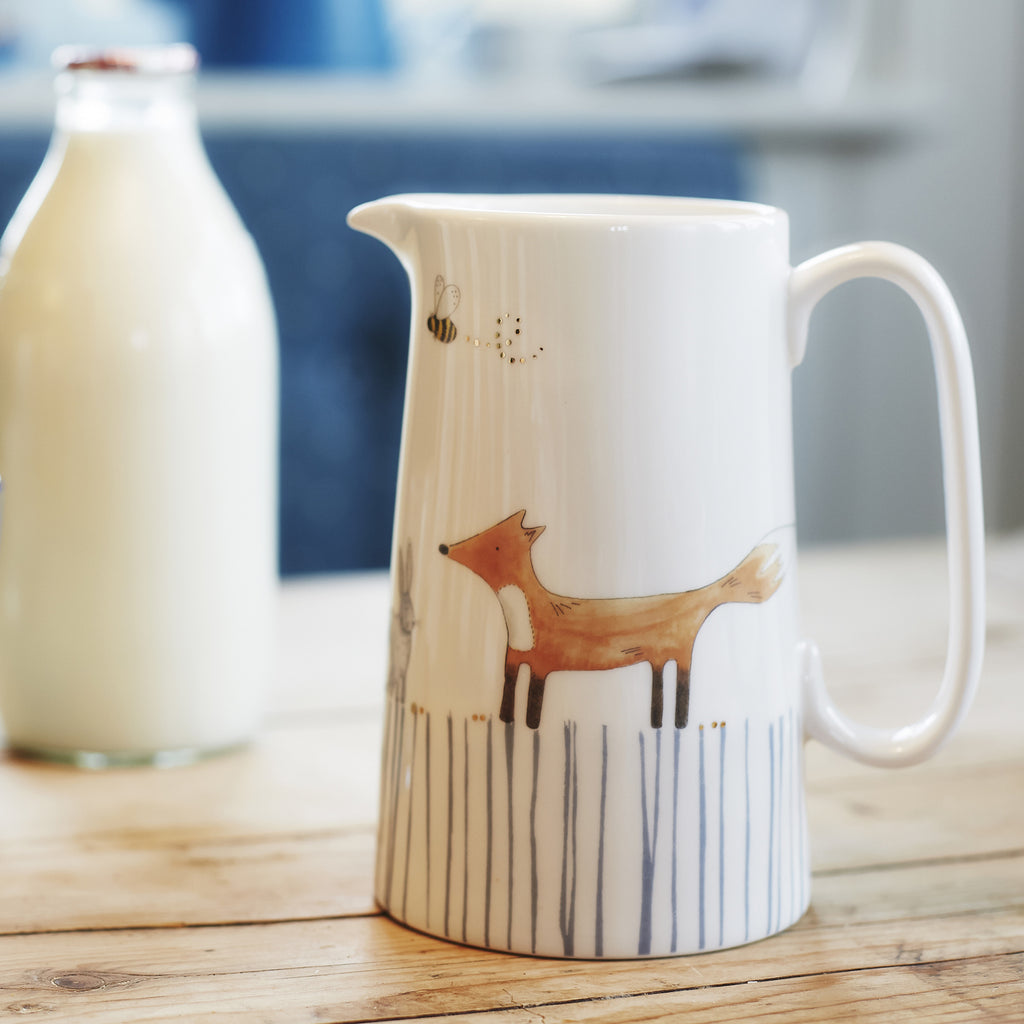
But, once you have grown lovingly and cut them what is best to put them in? It obviously depends on the selection you are working with but whatever the size our jugs tend to suit.

Whether it is a posy or a large bouquet with long stems we have four options to choose from. You can see all of our jugs here. Alternatives like enamel jugs are incredibly durable and you do not need to worry about changing the water so often as you do not have the transparency of glass. The one below can be found on Etsy via this link.

However, there is also something very classic about a simple glass vase. I love Heals and all that they select for their stores - so this was tough to choose one! But I think that this one is a great all rounder. And if you are a novice at spiralling to make a bouquet take a look at this short video. I personally think it is just instinct and having fun that make the best displays!

Continue reading

A little bit of self preservation

A little bit of self preservation

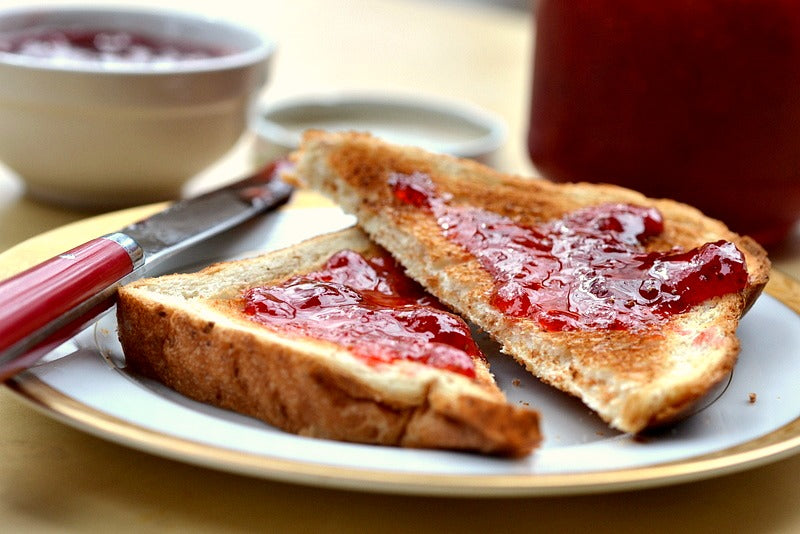
Ah, it is the weekend and that means a bit of family time. Now this is not always as joyful as we would wish for - with a ten week baby and nearly two year old in tow - but we try our hardest to find an activity that gets us outside. And this week it will be preserves. Foraging and storing those wonderful fruits and veg that just won't make it into our bellies unless we are clever enough to cook them up into little pots of loveliness. Chutneys and jams are so fantastic and all the better when you have made them yourself.

So here are a two recipes that I love which will be useful at this time of year.

Bottled Raspberries - This recipe comes from Liz Neville, a virtuoso preserves maker with whom Pam runs the famous River Cottage Preserve Making courses near Axminster in Dorset.

Ingredients

  • 150g granulated sugar
  • 1kg firm, just-ripe raspberries
  • 100–-150ml brandy, gin, vodka or raspberry liqueur

Method

First make a syrup: put the sugar and 750ml water into a pan and heat slowly to dissolve the sugar then bring to the boil. Keep the syrup warm.

Pack the raspberries tightly into warm, sterilised jars. Make sure you don't bruise the fruit – a chopstick or wooden spoon handle is useful for gently prodding it down.

Pour the alcohol over the packed fruit. Fill the jars to the brim with the sugar syrup, tapping them to remove any air bubbles. Put the lids on the jars, loosening screw-bands by a quarter of a turn, if you're using them, to allow the steam to escape.

Stand the jars in a deep pan and cover with warm water (at 38°C). Heat to simmering point (88°C), over 25 minutes. Maintain this temperature for 2 minutes.

Carefully remove the jars and stand them on a wooden surface or thick folded towel. Tighten the screw-bands then leave the jars undisturbed to cool. When cold, check the seal by removing the clips or screw-bands and lifting the jar by the lid.

Use within 12 months.

A dark and sticky fruit chutney - From Notes from the Larder by Nigel Slater

Ingredients

  • brown sugar: a generous cup (250g)
  • figs: 8 large (about 2 1/2 pounds / 1kg)
  • malt vinegar: 2/3 cup (150ml)
  • cider vinegar: 2/3 cup (150ml)
  • onions: 9 ounces (250g), chopped
  • golden raisins: 9 ounces (250g)
  • salt: 1 teaspoon
  • allspice: 1 teaspoon
  • black peppercorns: half a teaspoon, cracked
  • coriander seeds: 1 teaspoon

Method

Warm the sugar in a bowl in a low oven. Coarsely chop the figs, removing any tough stems as you go, then put them in a large stainless steel or enameled saucepan. Add the vinegars, onions, raisins, salt, allspice, cracked peppercorns, and coriander seeds, then bring to a boil. Simmer for thirty minutes, until the onions and fruit are soft.

Stir in the sugar. Bring slowly to a boil, then turn the heat down so that the chutney bubbles gently. Cook for ten to fifteen minutes, with the occasional stir to keep it from sticking to the bottom of the pan, until the mixture is thick and jamlike. Bottle in sterilized jars while hot and seal.

Makes a couple of jars.

And to serve - why not use one of our lovely condiments pots (though maybe use a bigger spoon after all that effort.) Right, off we go to the blackberry hedges. Pass me that baby carrier!


Continue reading

Back to school...

Back to school...

Apologies for going quiet for two weeks. My good intentions to write the posts before I left for Dorset were lost as I was swamped by your wonderful orders.

But now it is back to school this week and I know that a lot of you will be relieved to be getting back to routine! Me - I used to like school, one of those freaky children that actually enjoyed being tested, ha ha. But the very best part of going back to school after the holidays was not the new uniform, the anticipation of new teachers, or even seeing my friends (as we had seen them during August anyway!) No, the best part was getting a NEW pencil case and filling it with lovely new pens and pencils, possibly even a protractor. So I have put together a few things that I would like to see on my desk this month and that will keep me motivated to work through the festive madness.

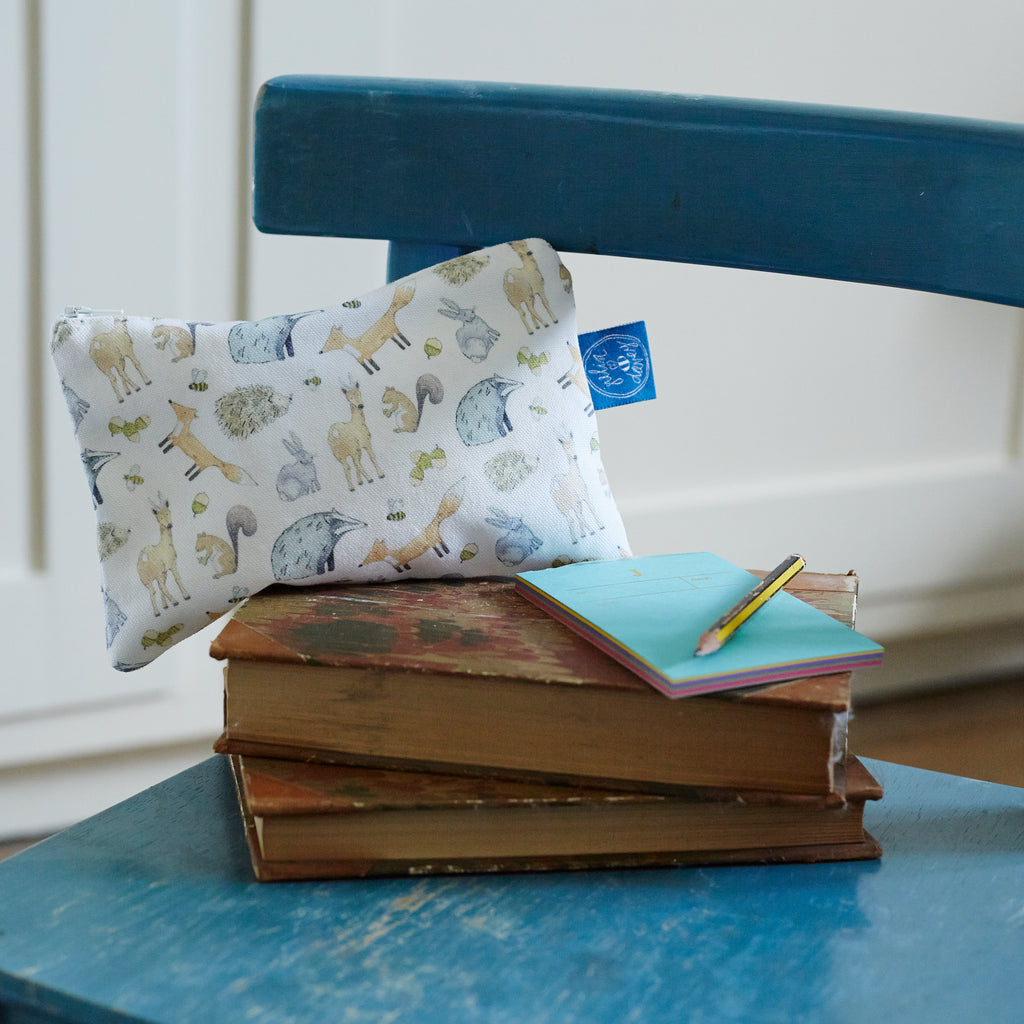
Our favourite woodland chaps adorn each zipped pouch, perfect for pencils etc and priced at just £10, view them here.

And to pop inside, I would love a set of these Viarco silver toned pencils (pack of x12), £10 from Liberty London. Shop here

We cut A LOT of transfers here at Julia Davey HQ. The pairs that we fight over are made by HAY. Not just pretty, these are so very practical and precise. Priced at £25 find them here online.

When I do find inspiration a beautiful pad to draw them on always helps. I am a terror for then ripping out the sketches to manipulate and scan. So it helps if the cover always still looks perfect! This stunning Paloma sketchbook is by Grace & Favour Home and is pried from £13. Find this (and a whole lot of other gorgeous things in this fabric) here.

With 2017 coming to an end sooner than I think I am going to replace my planner with exactly the same one I bought this year. I have found this brilliant - fantastic sectioning and titles throughout. There is enough room for me to write my scribbles without them getting lost on top of each other. The personalised 'Dream It' planner is by Love Give Ink on Not On The High Street, £29. Find it here

Finally, and you know I want to save the best until last! There is the ultimate collaboration this month between the behemoths Anthropologie and Liberty London. A stunning stationery and home collection. I would just love all my orders to be contained on this clip board. A little pricey at £24 but this would egg me on to get them all sorted. Shop the collection here .

Continue reading

Best In Show

Best In Show

We are mid August already! I cannot believe how fast this month is whizzing by and right now the team are turning their attention to the Autumn shows. We are kicking off with 'The Handmade Fair' a craft and food show that is headed up by the glorious craft ambassador  Kirstie Allsopp. The venue is Hampton Court Palace and there are two lovely tents of craft stalls as well as further tents with smaller craft stands and a separate food tent. This is the first time we have shown at the London event, having had a wonderful time in Alcester at the Spring version. This London show is obviously larger in scale and so we are upping our game (and our vision of our stand) to match it. Competition is always stiff at such high quality shows such as this. With such lovely exhibitiors the visitors are often spoilt for choice and it is difficult to stand out. I have started planning the stand and I have a few tips on how to maximise your space and sales at a show such as this.

  • A show like this is very different to a market style stall. You do not have to balance everything on tables with no background - you have been given walls... so use them! Paint them if you can (or get the exhibition professionals to do so.) We get ours painted by the pros before we arrive at the show if we can. It gives you the most time possible for display, you are not watching and waiting for paint to dry - literally! In my experience over the last few years we know that visitors like a distinctive background, it helps them remember where you were in such a busy layout where rows of stands look very similar. They will turn to a friend and say "remember the red stand", and you know what, then they do!
  • My second point about the walls is height. Use the whole wall, you have paid for it after all! We pin textiles up as high as we can (remember to pack that ladder), or have apple crates screwed in to the walls to display china. It does not matter if you physically cannot reach the goods, as long as you have spares stored in secret on your stand to give customers when asked it is a great advert for your goods. It also helps when it is very busy at a show and the only way people can see if they want to battle others to get into your stand is to judge what they can see over everyone's heads.
  • Think about the height of your product display. You need to consider if you can use props to vary height or use multiples of the products themselves.
  • Be an obvious rep for your brand. At busy hows it needs to be clear to your customers who they will be approaching to buy from. Try not to shrink too much into the walls of your stand. Wear an obvious badge, a pinny or if there is more than one person to man the stall try and coordinate your outfits.
  • Make sure you have a clear idea of stand size and measure your furniture before you go. It is often a good idea to plan on paper the furniture you will take and where you think you will put it. Sometimes this changes when you get there, but it needs to be the case you are 100% sure it will all fit before you leave.
  • Finishing touches are key. If you have a logo get it printed professionally on to a removable decal paper, put business cards in something purpose built or sourced and consider bringing a hand held vacuum. It is incredible how dusty venues get, or how many price label bits and bobs you might have dropped when setting up!

So, if you would like to come to the fair and see our finished stand we will be giving away some pairs of tickets in the next two weeks, check back here or sign up to our newsletter (via our homepage) to enter. In the meantime Folksy have teamed up with The Handmade Fair and myself to run a little giveaway for a collection of In The Woodland products.

To enter just click on this link:

https://www.thehandmadefair.com/hampton-court/visiting/win-with-folksy/

Have a wonderful week whatever you are up to!


Continue reading

Oh I do love to be beside the seaside...

Oh I do love to be beside the seaside...

So I am not feeling that we are having a wonderful sunny August, as per usual with the school Summer holidays the good weather appears to have left us late July. Perhaps it will return in September? Either way, like many Brits I have booked a stay-cation this month and as a family break we are heading down to the Dorset coast. The last time I visited the coast there I was inspired by the beach huts that lined the beach and created our range as a result.

I can see the practical appeal of a beach hut - the place to change with modesty intact, a pot of tea on the boil with ease, somewhere to store the windbreak and endless buckets and spades. They really do have a practical use. But I have noticed that there is a breed of larger beach hut that you can spend the night in (something that is prohibited by many rentals around the country.) So I have had a little peruse and would like to bring you my few favourites that I have found, and if anyone would like to book me a break in one I can be free any time, any month!

The National Trust rent out 50 beach huts at Studland in Dorset. The huts are divided into colour-coded zones, giving you the choice of front row seats on the beach or a more secluded spot among the dunes. They are basic, not luxurious, but will store what you need and provide a place away from any wind and rain. Daily rental starts at £17 low season and goes up to £32 in high Summer. You can also hire for a week, the cost is again dependent on the time of year.

Shaldon beach hut in Devon is utterly beautiful, a modern take on the beach hut and is available for up to 4 people to stay in. The facilities are incredible, including a fully equipped kitchen and clever little shower room. I can just imagine a breakfast being pretty darn great with views out from here. Prices are variable but standard rate is £140 per night.

Finally I have saved the best until last. The incredible Cornish St Moritz hotel boasts an array of colourful beach huts. If you book into a King room at the St Moritz hotel you’ll be handed keys to your very own beach hut. The huts have incredible views and overlook the Camel estuary over to Steppa Point and the Atlantic whilst cleverly are close to the outdoor pool and the seaside restaurant. Their styling is impeccable with bunting, tables and chairs, plus any added extras you want, such as champagne and birthday cakes brought to your hut. You can’t sleep in them, but they are yours to use as you please until the sun goes down. Prices for a king room start at £215.

So finally, as a celebration of the beach hut we are giving you a special offer on our Dorset Beach Hut large mugs as a reader of our blog. Usually priced at £14 each we are offering a big discount this week when you buy two. Until midnight Thursday by using the code BRITISHSUMMER you will get two mugs for £20 - a saving of £8.

Perfect for holiday dreaming...


Now I am off to buy a supply of cagoules and umbrellas, you just never know what late August will bring!

Continue reading

The Balancing Act

The Balancing Act

I do hope that you are having a good Monday, this week's post seems very apt (being posted a day late) as it is on finding a work/family balance - and I obviously got it a little off over the last dew days!

Actually, last week was typical of why it is so hard to find a balance. It was one of those where you are let down by others, have to chase and make endless phone calls/emails all whilst trying to put on a happy face for my toddler and feed the one month old. To you it might seem madness to try and carry on like it is business as usual with a 21 month old and newborn in tow but I have great back up. My husband is a music teacher and has the Summer months as holiday whilst my mother (as I explained in the previous blog post) is almost like having another me. She knows the studio inside out, plus is great at swapping in if I need her to look after my oldest while I sort something out in the studio, or need an extra hour to put a kiln on. Both understand how hard I have worked to get to where Julia Davey Ceramics is, and that it would have been impossible for me to entertain putting it on hold or giving it up entirely.

So back to where I am today specifically - it has been one of our busiest months and yet we are coping. Husband is on toddler watch for most mornings and I have a newborn which means a few snatched hours of work whilst she sleeps in the day. That means that I have to find time for play at lunch, in the afternoons or dedicate a proper day to a family outing. The planning for this can be endless, we have been ordering stock to make, finalising Christmas samples and putting in countless hours on website development in the last months of my pregnancy. It has made the first month with Mathilda here a little easier and the idea of a day out plausible. I learnt my lessons from having Thea two years ago the hard way.

So my advice to all the pregnant business owners out there:

1. The baby won't necessarily be late. I had Thea 5 days late but this just gave me another 2 firings worth of stock! I was prepared for her to be 2 weeks early - it makes you think every day is a bonus after that.

2. Maternity leave is not always an option. Given the allowance for self employed folk it is easy to see why. I just could not afford it. So back to work it was, if only for an hour or two a day. I am not grumbling, I just did not know that this would need to be the case. You just need to be realistic in what you can achieve with a baby in tow. Which leads me to...

3. Lists are incredible! Prioritise your workload and don't think that you can get everything done as quickly as before - your mind is foggy with sleep deprivation. It is also VERY disheartening if you feel you have not made much progress. Use lists as a means of getting thing out of your head, not as a 'to do today/this afternoon' tool.

4. Leave the house. It is easy to get more done if you work at home and stay there via all the naps/playtime negotiation. However, it is so much more rewarding to go out as a family. I always have Thea booked into activities or what not for three mornings a week. Then I know the majority of the week time we have made an effort to get out of here!

5. Dream big! Yes, you are raising a family. But that does not mean that you have to remain on pause with your business. It can grow. You just need to take a moment to plan how to manage that.

I would love some advice back. Maybe you are going through the same thing, or have done. If so do leave a comment. I would be most grateful. So for now, I am off to finish some sheets of transfers before both girls wake up. I might have 20 minutes, they may be an hour. Who knows. At least I have the back up of my husband for the next month. Then it is on to plan B in September. Wish us luck!

Continue reading

Make It Personal

Make It Personal

It is nearly August... can you believe it? And our thoughts are turning here to a very important date in our calendar during August this year, my little brother (or not so little anymore) is getting hitched to his beautiful fiancée. I have the honour of being bridesmaid and Thea has the role of flower girl. Let the chaos commence! It has also been so much fun creating some wedding favours for them. I can't post a picture of them, in case a guest or two reads this post, but I am so pleased with what we came up with. 

We decided on a design that had Anna's Danish heritage in mind. The favours were to be made in porcelain, which I have not touched since university! We spent a fun afternoon coming up with the general feel of them and design. Then it was down to the brides mother to rope in a friend or two to mass produce what we had decided upon. Luckily she has a small kiln, so I was able to ask her to fire them before bringing them to me to glaze and decorate. Each little favour was personalised with the guest's name and a beautiful blue design based on Royal Copenhagen china. It will be lovely to see the reactions on the guest's faces next month... and I shall post a picture when I can to show you them 'in situ.'

With personalisation and weddings in mind I thought I would illustrate here what goes in to adding that extra flourish of text to our china. It is always completed by myself as I am a real stickler for detail. We have whole sheets of letters in grey, pink and blue along with the year '2017'. When an order is placed we set about cutting out each individual letter. They are less than a centimetre in height so it is a little fiddly.

Then comes the soaking of each to release the transfer from the backing paper. I have to be careful not to leave them in water for too long or they float about!

Each letter is then individually placed on the item that I am decorating. The name is built up gradually and I have to be careful that the transparent parts of the transfers do not overlap with any of the coloured parts or they 'burn out' and the item becomes useless! Time for a final firing and then they are ready to be gift wrapped.

I feel honoured every time a customer chooses to personalise one of our items. We make it easy to order children's mugs and egg cups online with this service but if you email a request we are happy to try and do so on any of our china items. Personalised gifts are great for birthdays and special occasions but I have to say it is a pair of egg cups that make the best wedding gift. His and hers eggs, what better way to start married life with breakfast in bed! And yours for under £25, you might be able to stretch to that toast rack too after all!

Continue reading

Time for Tea

Time for Tea

I have been pondering about tea this week. It all started after a conversation with a friend over loose leaf versus tea bags. My husband is a coffee drinker and so granules are part of his daily routine, but I have to be honest and say that I like the 'no mess' approach to tea bags. So it got me thinking, was this the purpose of their invention?

Apparently there is some debate about this and as to who invented the tea bag. A chap called Thomas Sullivan who was a tea merchant was said to have started sending samples of his products in silk pouches in 1908. He did not mean for them to necessarily put them straight into hot water in this way but some did and asked for more of the same. However, seven years prior to this a patent was filed for by Roberta C Lawson and Mary Molaren of Milwaukee (which sounds a great deal like the description of a tea bag) with the hope that their invention would cause less waste. Both inventors recognised the need for the leaves to circulate, and so production in gauze rather than silk was decided upon. I guess it was a convenience and perfect portions that drove sales. I cannot imagine life without them now, and my lovely teapot with its inbuilt tea strainer still remains a little unloved.

Then there is the debate of mugs versus cup and saucers. I have thought about this several times over the last 5 years. At shows and through the occasional email I am often asked for a tea cup and saucer in one of the designs. This is a 'must have' for these customers, they simply do not like drinking tea in mugs and I wonder if this is partially now becoming a generational thing or not. The Japanese have a traditional tea ceremony and I feel that the British do, just in a very different form - afternoon tea. This was invented by the 7th Duchess of Bedford called Anna. She is said to have complained of "having that sinking feeling" during the late afternoon. At the time it was usual for people to take only two main meals a day, breakfast, and dinner at around 8 o'clock in the evening. The solution for the Duchess was a pot a tea and a light snack, taken privately in her boudoir during the afternoon.

Obviously this then became rather more elaborate. I think it is lovely to 'go out' now and book a little afternoon tea table, it feels so decadent and special. This is much the way I feel about using a tea cup and saucer. On the other hand there was the invention of the mug around the start of the 20th century. Handles for teacups and mugs are seen by many historians as a very western addition to the beautiful Japanese tea bowls that burnt hands too often. The mug holds an ample amount of liquid and it is also perfect for increasingly popular coffee drinking. We decided at Julia Davey that the size of mug was very important when it comes to drinking tea and coffee. The larger size mug we make is generally viewed by most as a tea mug and the smaller for coffee. We also added a children's mug to our range in Spring as so many youngsters love to be all grown up and have some hot chocolate while the adults have theirs. You would not believe how many mugs we looked at to gauge the thickness of casting, feel of the handle and width/depth of the body. Any feedback on this is always gratefully received.

What do you prefer? Do you think that it makes a real difference having loose tea? And mugs versus tea cup and saucer, is there a better vessel to drink from? I would love to hear what you think!


Continue reading

Woodland Offerings

Woodland Offerings
We have an offer to share with you, a really great one this week. But I will leave that until the end of this post. Because I was thinking about something to write about this week and happily have found a little inspiration from a personal favourite that ties in with our promotion. Continue reading
  • Previous
  • Page 1 of 2
  • Next